Archive
Step by step installation of SharePoint Server 2019 preview for single server farm topology
Hi Friends,
As we know that SharePoint Server 2019 and Project Server 2019 preview available, I was excited with this news and thought to have it installed on and check what’s now.
Following article will have instructions to install SharePoint Server 2019 preview on Azure VM.
Let’s start by creating the virtual machine on Windows Azure platform.
I have created a VM with image template ‘SQL Server 2017 Standard on Windows Server 2016’.

I have chosen ‘Standard B4Ms’ sizes configuration.

And created the VM, it have taken some time to get it created. Following are the configuration shown on the created VM on Azure.
Now as we have Virtual machine ready with SQL server 2017, we can start with SharePoint Server 2019 installation.
1. Let’s first download the setup from https://www.microsoft.com/en-us/download/details.aspx?id=57169
2. I have chosen ‘en-us\16.0.10711.37301_OfficeServer_none_ship_x64_en-us_dvd\officeserver_en-us.img’ installation language for downloading installation, its 3.8GB size.

3. Click Save to copy the disc image file to your computer.
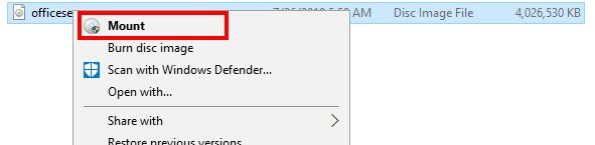
4. Right click on the ‘officeserver_en-us.img’ file and select Mount option.
5. Navigate to the mounted drive.
6. Run splash.hta to launch the SharePoint Server 2019 Start page.
7. Click Install software prerequisites to launch the Microsoft SharePoint 2019 Products Preparation Tool.
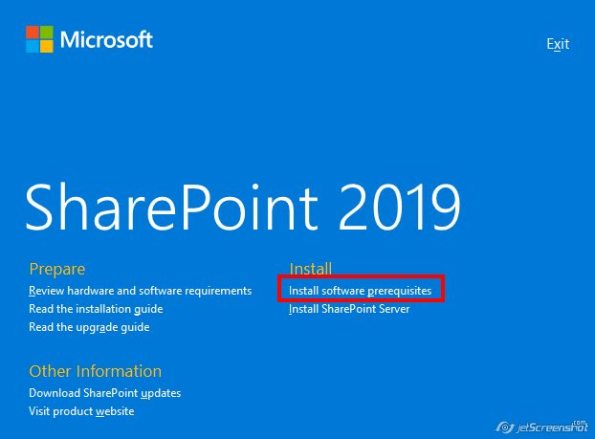
8. Follow the instructions in the tool to complete the installation of the software prerequisites.

9. Select ‘Finish’ to restart the server and complete the installation of prerequisites.
10. After restart if the image file not mounted automatically then repeat step 4,5 and 6 to run the splash.hta file.
11. On the SharePoint Server 2019 Start page, click ‘Install SharePoint Server’ to launch Microsoft SharePoint Server 2019 Public Preview Setup.

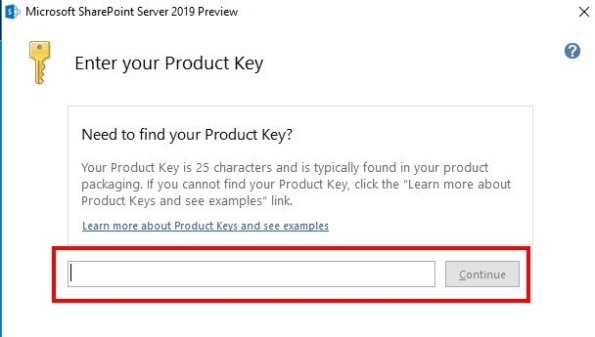
12. When prompted, provide a product key. You can use the trial product key from article install instructions section. The trial period is 180 days. You can convert to a licensed installation at any time during the trial or after the trial has expired by entering the appropriate product key in Central Administration.
13. Sit back and relax to complete the installation.


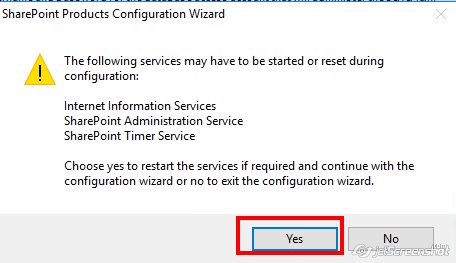
14. After completing the setup SharePoint Product configuration wizard will be started.

15. Select ‘Yes’ at the following screen.
16. As we are creating new farm, select as below screen shot.

17. Select Next on below screen.

18. In next screen we need to provide DB server details and Database access account details.

19. After giving user details using which we have created the VM,I was getting following error “The specified user is a local account. Local accounts should only be used in stand alone mode.

20. I thought we need to create a SQL user and pass that to continue the setup.
21. Hence I connected to SQL server management studio.

22. I have created a new SQL user.

23. And granted all the roles to that account.

24. Now selected the newly created user also not helping me and giving same error as given in step no 19.
25. After that I have tried creating the new local user account and added that to Local administrator group and using those user in SQL. This also not helped me and I got stuck for some time.
26. After searching for the error we came across SP 2016 post when the solution was described to use the New-SPConfigurationDatabase cmdlet.
New-SPConfigurationDatabase -DatabaseName SharePoint_ConfigDB -DatabaseServer [ServerName] -AdministrationContentDatabaseName SharePoint_ContentDB -Passphrase (ConvertTo-SecureString [password] -AsPlaintext -Force) -FarmCredentials (Get-Credential) -localserverrole SingleServerFarm
27. Please read about at cmdlet New-SPConfigurationDatabase , I used ‘SingleServerFarm’ option for localserverrole parameter as I am installing on single server.
28. This command will take some time and create configuration database.
29. After successful completion run the SharePoint product configuration wizard again.
30. This time it got succeed and we are able to proceed.

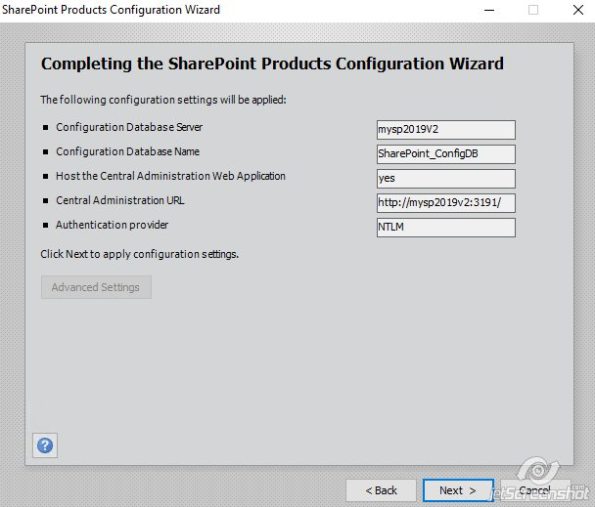
31. Click Next to continue with configuration. And wizard will continue as following.

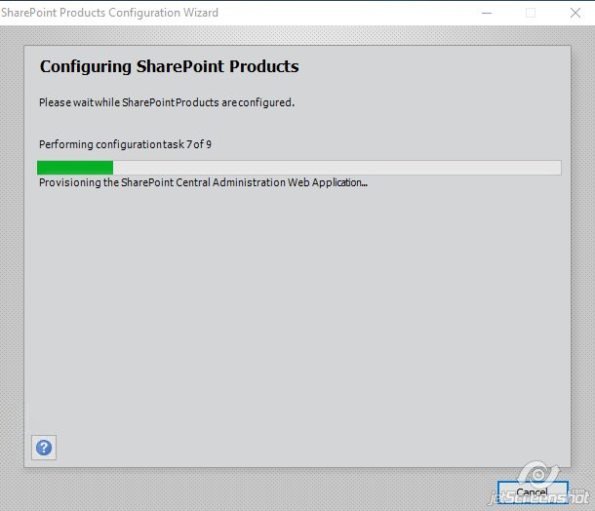
32. Now the final configuration task started and installation continued.
33. Installation success message shown as following.
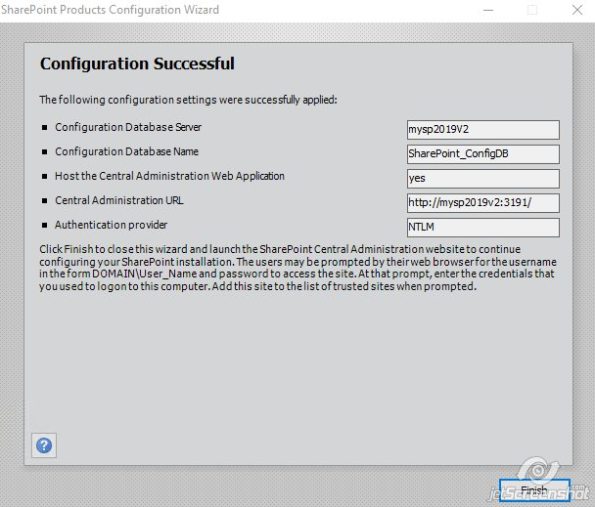
34. Now we can able to access SharePoint central administration.

We can now free to create web application and site collection. Modern site templates are available at ‘Template selection’ step.
Hope this article will help to save some valuable time while setting up SharePoint 2019 preview.
Thanks for Reading.

